10/27/2004 Replacement of a failed electronic lock of unknown manufacturer with the Unican 7014 mechanical combination lock.
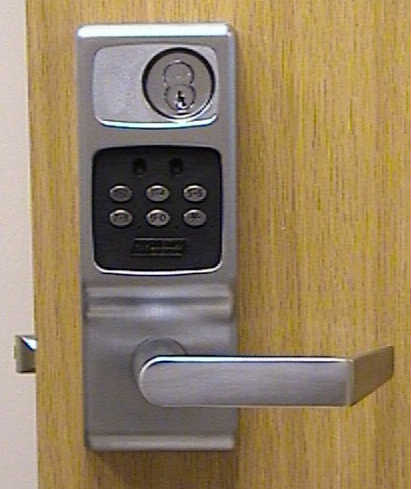
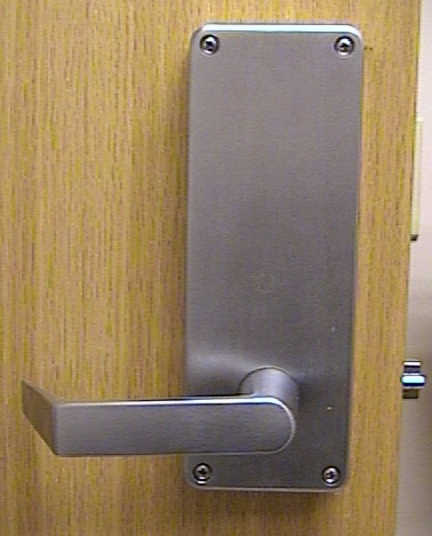
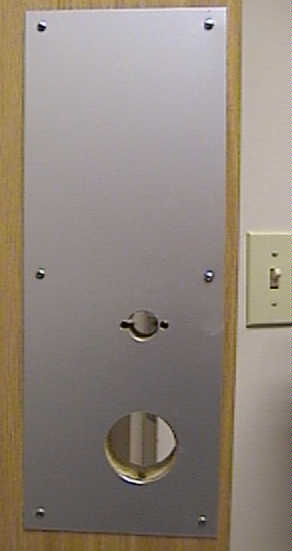
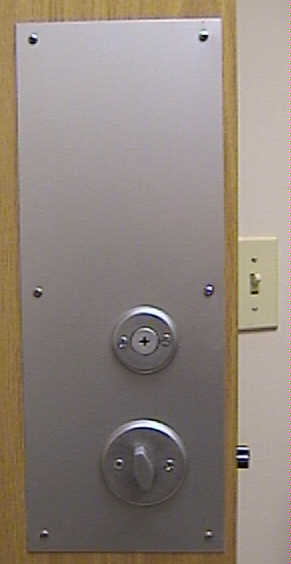
This is the outside and inside view of the old unit to be replaced.
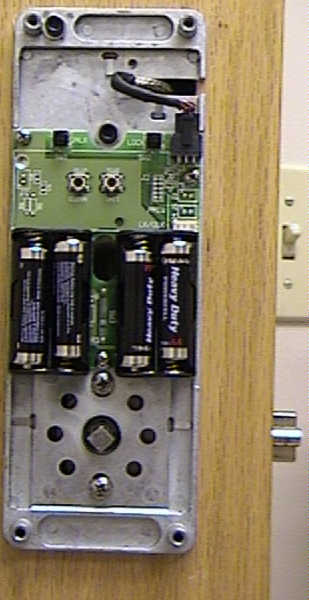
I looked at this job yesterday thinking I could just direct swap it, but when I took off the inside trim and saw a cut away in the wooden door where the wires went through I decided I had better think ahead and plan further. This is what I saw:
So I put the inside cover back on and thought about this on the way back to the shop. I decided to try something I'd never done before and ordered 2 push plates. When I got back to the shop I placed the "finished" surfaces face to face and sandwiched them between two scrap pieces of 3/4 plywood. I then placed my Schlage boring jig about where I wanted the cross bore hole and smacked the bit with a hammer to give me a precise starting point for my hole saw.
After boring the cross bore, I tore the Unican installation template out of the book, cut out the 2-1/8" cross bore hole and then aligned it on the hole I had drilled with the hole saw and scotch taped the top to the plywood. I then used my punch to mark for the 3 holes for the combination changing unit and its mounting screws. The book called for a 3/4" hole but I didn't have a 3/4" hole saw so I opted for the 7/8" which ended up working just fine.
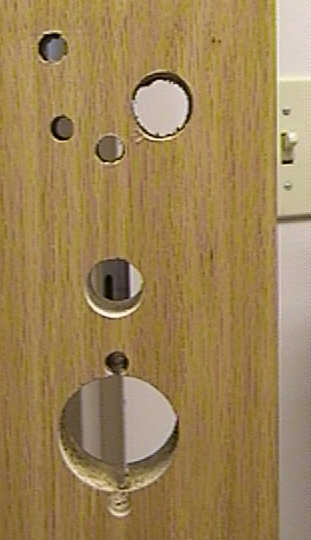
After completely removing the lock I saw the Swiss cheese job
on the door and thought to myself "NO PROBLEM!".
After removal of the existing hardware I installed the
pre-fabricated push plates onto the door, inside and out.
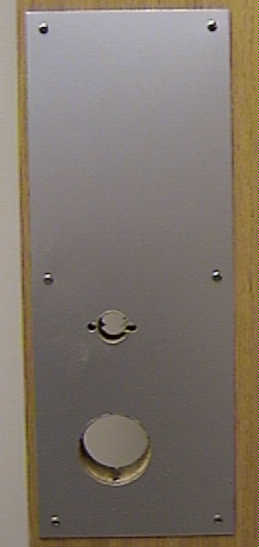
I then took the pilot bit out from the center of my hole saw
and used the push plates as a drilling guide do complete the 7/8" hole
through the door. I then used the 1/4" bit for the mounting screw holes.
OK, its obviously not perfect with one of the mounting screw holes hitting the
7/8" hole, but I think that the finished job speaks for itself....
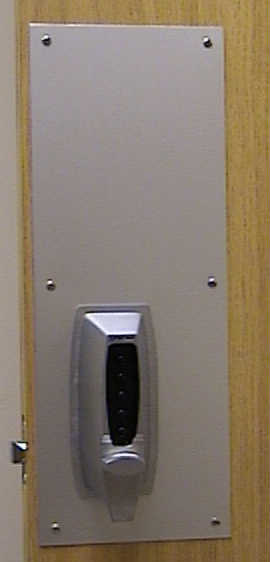
The customer was happy, I was happy and it was a happy day!